Obstructive Summary
DIY security camera installation is achievable for most homeowners using wireless or plug-and-play wired systems, but hardwired multi-camera setups with conduit runs and NVR configuration often exceed typical DIY skill levels. This guide walks through every tool, material, and step required to mount and connect cameras on your own, then identifies the exact scenarios where hiring a professional security camera installer saves time, money, and frustration. Readers who finish a self-install still benefit from understanding when expert help is the smarter move.
What You Need Before You Start
A complete tool and materials list prevents mid-project hardware store trips. Gathering everything in advance cuts a typical two-camera install from four hours down to about two.
Tools Required
- Power drill with masonry and wood bits
- Stud finder (for indoor or soffit mounting)
- Fish tape or glow rods (wired installs only)
- Level (laser or bubble)
- Wire strippers and crimping tool (PoE installs)
- Screwdriver set (Phillips and flathead)
- Pencil and measuring tape
- Ladder rated for your mounting height
Materials Required
- Security cameras (wireless or PoE)
- Mounting brackets and anchors (usually included)
- Ethernet cable, Cat5e or Cat6 (PoE systems)
- Cable clips or conduit (exterior runs)
- Weatherproof junction boxes (outdoor installs)
- Silicone sealant for exterior screw holes
- NVR or DVR unit (wired systems)
- Surge protector for recorder and router
Step-by-Step DIY Installation (6 Steps)
Each step below applies to both wireless and wired cameras unless noted otherwise. Wired-specific tasks are flagged with (PoE only).
Step 1 — Plan Camera Placement
Camera placement determines whether your system captures usable footage or misses critical angles. Map every entry point, driveway, and high-value area on a simple sketch of your property. Position cameras 8 to 10 feet high, angled slightly downward at roughly 15 to 20 degrees, to balance facial identification range with wide-area coverage. Reference a complete camera placement guide for field-of-view calculations.
Step 2 — Mark Mounting Points and Drill
Hold the mounting bracket against the wall at each planned location and mark screw holes with a pencil. Use a level to confirm the bracket sits straight. Drill pilot holes, insert wall anchors for masonry or locate studs for wood surfaces, and loosely attach the bracket.
Step 3 — Run Cables (PoE Only)
For detailed cable routing instructions, see our guide on running security camera cables through walls. Route Ethernet cable from the NVR location to each camera position. Drill through walls using a spade bit sized for the cable plus grommet. Seal every exterior penetration with silicone. Secure cables every 12 to 18 inches with clips or run them inside conduit for a cleaner, protected path.
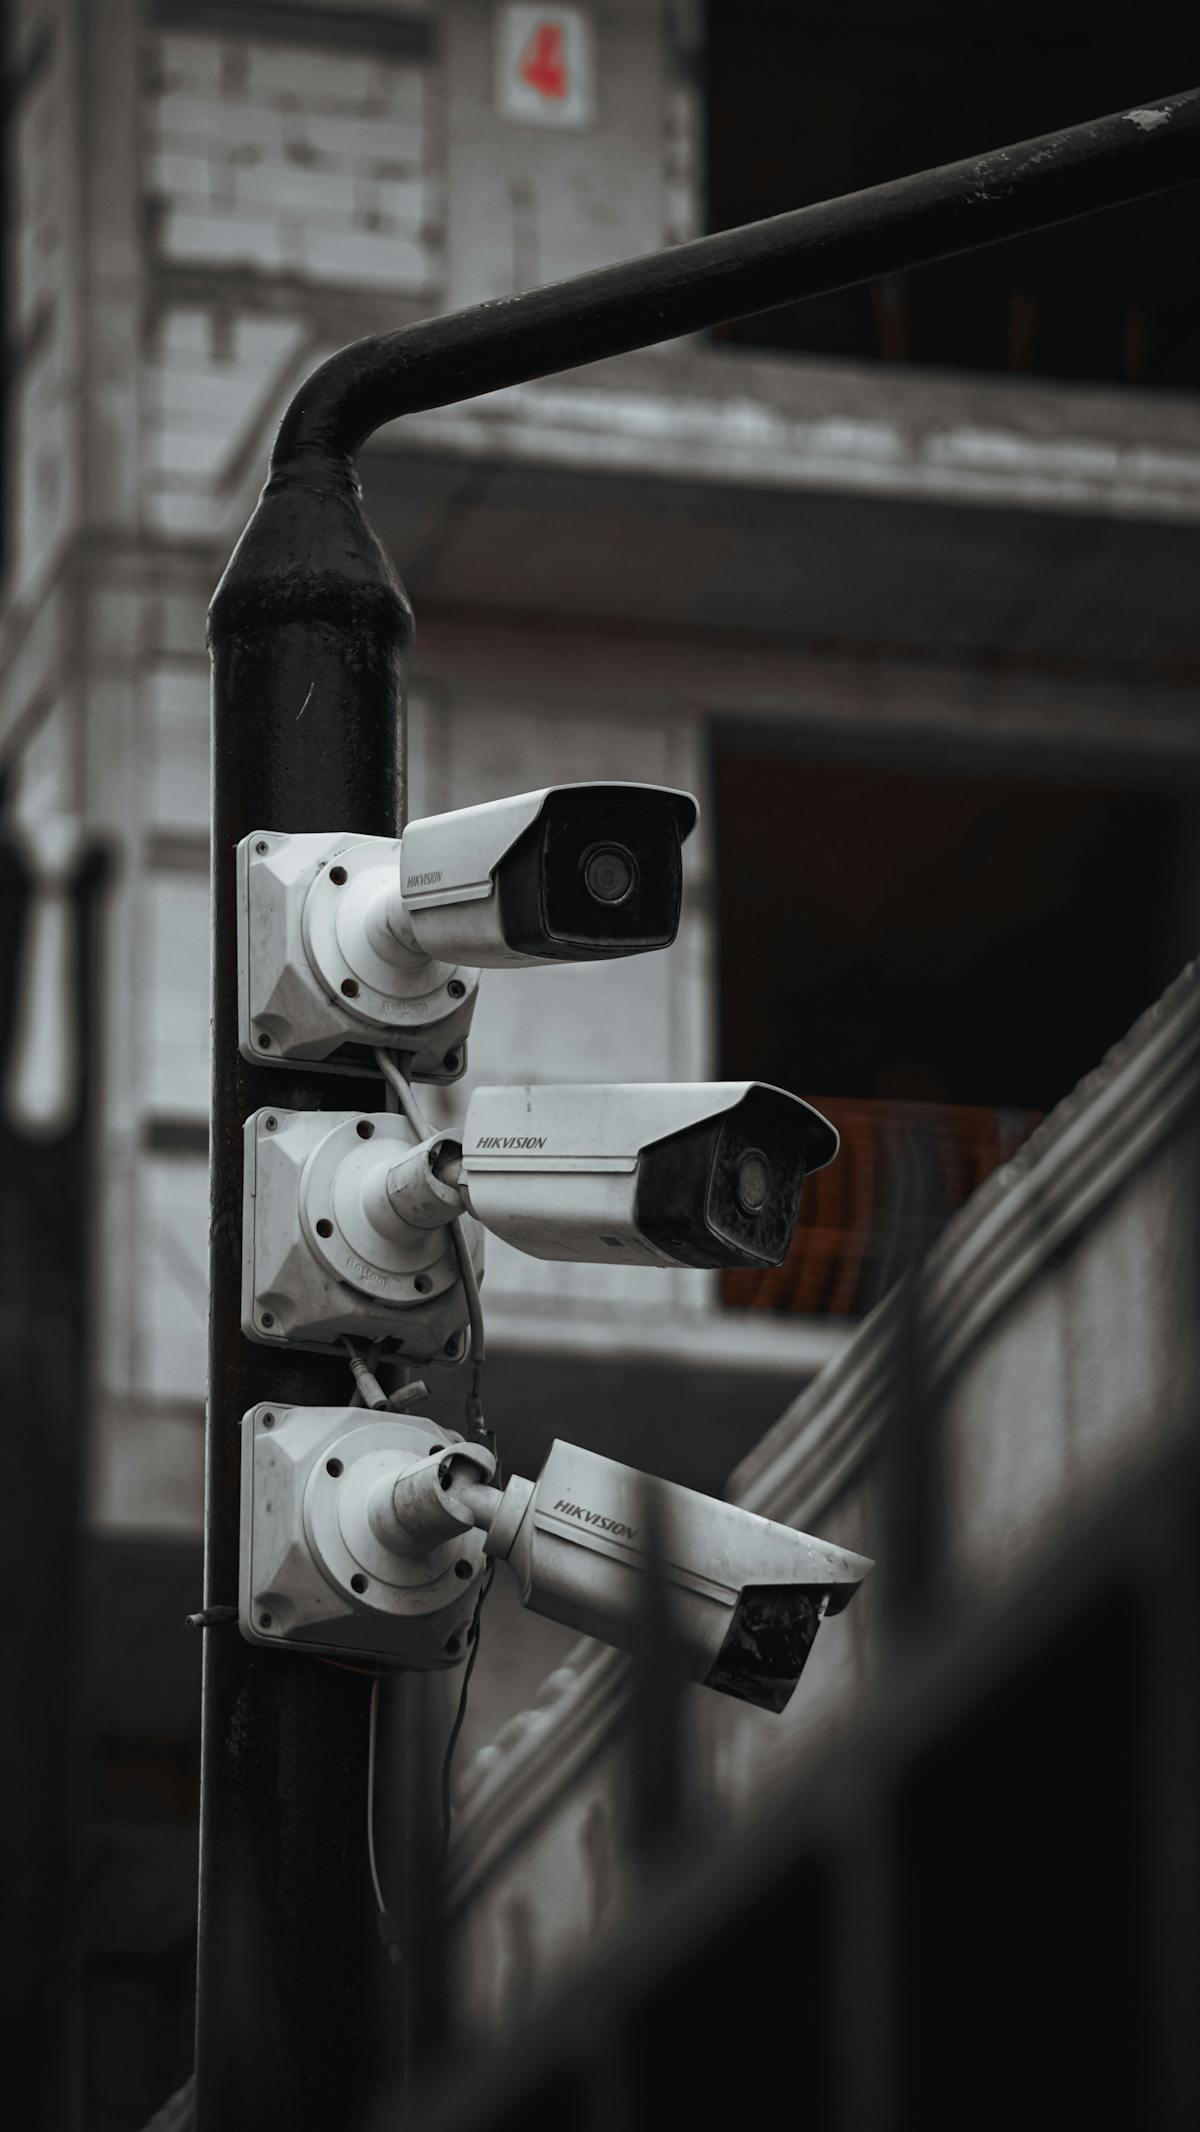
Step 4 — Mount the Camera
Attach each camera to its bracket, tighten all screws, and adjust the angle. For bullet cameras, lock the ball joint firmly so the housing does not shift in wind. Dome cameras typically snap into a base ring — press until the retention clip clicks.
Step 5 — Connect Power and Network
Wireless cameras plug into a nearby outlet or receive power via a solar panel — see our guide on connecting security cameras to WiFi for setup details. PoE cameras receive both power and data through the Ethernet cable connected to a PoE switch or NVR. Confirm each camera’s LED status light indicates power and network connectivity before moving to the next unit.
Step 6 — Configure the App or NVR Software
Download the manufacturer’s app or open the NVR interface. Add each camera using its QR code or IP address. Set resolution (1080p minimum), enable motion detection zones, configure recording schedules, and verify remote viewing works from a phone on cellular data — not the home WiFi network — to confirm external access.
DIY Limitations — When to Call a Professional
Not every installation belongs in the DIY category. Recognizing the boundary between a manageable weekend project and a job requiring licensed expertise protects both your property and your wallet.
Call a Pro When You Face Any of These Scenarios
- Multi-story exterior runs. Working above 16 feet on a ladder introduces fall risk that outweighs cost savings.
- Electrical panel work. If cameras require a dedicated circuit or transformer wiring, only a licensed electrician should touch the panel.
- Conduit through brick or concrete. Core drilling masonry walls without experience risks cracking, water intrusion, and voided warranties.
- More than six cameras. Systems with seven or more cameras typically need managed PoE switches, VLAN configuration, and bandwidth planning.
- Commercial-grade NVR setup. Enterprise recorders with RAID storage, redundant power, and access-level permissions demand network administration knowledge.
- Permit or HOA requirements. Some municipalities require permits for exterior wiring or camera placement. A licensed installer handles permits as part of the project scope.
- Integration with alarm systems. Tying cameras into an existing alarm panel involves proprietary protocols that vary by brand.
Quick Decision Table
| Scenario | DIY Feasible? | Pro Recommended? |
|---|---|---|
| 1-3 wireless cameras, single story | Yes | No |
| 4-6 PoE cameras, single story | Yes, with basic networking knowledge | Optional |
| Multi-story PoE with conduit | Difficult | Yes |
| 7+ cameras with NVR and RAID | No | Yes |
| Alarm system integration | No | Yes |
Final Considerations
If this process seems overwhelming, learn when to hire a professional installer instead. A successful DIY install hinges on honest self-assessment. Wireless two- or three-camera setups are genuinely beginner-friendly and can be completed in an afternoon. Once the project involves running cable through walls, configuring network hardware, or working at dangerous heights, the cost of a professional install — typically $150 to $300 per camera including labor — pays for itself in reliability and safety. Whichever path you choose, a well-planned camera layout is the single biggest factor in system effectiveness.