DIY security camera installation saves $500–$2,000 in labor costs compared to professional installation, but that upfront savings rarely tells the full story. Professional installation for a typical 4-camera residential system runs $800–$4,000 (equipment, labor, and configuration included), while the same system installed DIY costs $250–$1,700 in equipment, tools, and supplies — plus 4–16 hours of your time. The gap narrows further when you factor in the hidden costs of DIY: purchased or rented tools ($50–$200), incorrect camera placement that creates blind spots, property damage from improper drilling, and the absence of a labor warranty. Professional installers deliver a site survey, concealed cable routing, optimized motion zones and night vision settings, and a warranty covering both equipment and workmanship. DIY installation makes financial sense for 1–2 wireless cameras or renters who cannot modify the structure, but for wired systems with 4+ cameras, commercial properties, or multi-story buildings, professional installation consistently delivers better long-term value per dollar spent. This page compares every cost line item side by side so you can make a fully informed decision before committing to either approach.
Professional vs DIY Security Camera Installation — Full Cost Comparison
DIY installation costs 50–70% less than professional installation when measured by out-of-pocket expense alone. The following table breaks down every cost component for a standard 4-camera residential system under both approaches.
| Factor | DIY Installation | Professional Installation |
|---|---|---|
| Camera equipment | $200–$1,500 | $300–$2,000 |
| Installation labor | $0 | $500–$2,000 |
| Tools & supplies | $50–$200 | Included |
| Time investment | 4–16 hours | 0 (done for you) |
| Risk of poor placement | High | None |
| Warranty coverage | Equipment only | Equipment + labor |
| Total (4-camera system) | $250–$1,700 | $800–$4,000 |
Professional installation pricing varies by region, camera count, and wiring complexity. Equipment costs run slightly higher on the professional side because installers typically spec commercial-grade cameras and PoE hardware rather than consumer-tier wireless models. For a detailed breakdown of per-camera installation pricing, see our guide on how much security camera installation costs. For a feature-by-feature comparison beyond cost, see our professional vs DIY installation guide.
True Cost of DIY Installation
DIY installation involves more expense categories than the camera price tag alone. The following four cost areas account for every dollar you will spend — including the ones most DIY guides leave out.
Camera and Equipment Purchase
Camera equipment accounts for 70–90% of total DIY project cost. A 4-camera wireless system from consumer brands like Ring, Blink, or Reolink costs $200–$600. A 4-camera wired PoE system with an NVR runs $400–$1,500, depending on resolution (1080p vs. 4K), storage capacity, and brand tier.
DIY buyers typically purchase directly from Amazon, Costco, or manufacturer websites. Pricing sits $50–$200 lower than what professional installers charge for equivalent equipment because installers use commercial-grade hardware with longer lifespans and better weatherproofing ratings. That price gap shrinks considerably when you compare equipment quality tier-for-tier rather than sticker-to-sticker.
Tools You May Need to Buy or Rent
Tool costs add $50–$200 to any DIY camera installation. Most homeowners already own a drill, but specialized items often require separate purchase.
- Hammer drill with masonry bits — $60–$120 (required for brick, stucco, or concrete mounting)
- Fish tape or fish rods — $20–$50 (needed to route cables through walls)
- Cable crimping tool + RJ45 connectors — $15–$30 (for custom-length Ethernet runs)
- Cable tester — $15–$40 (verifies proper termination)
- Ladder (extension) — $150–$300 to buy, $30–$60/day to rent
- Silicone sealant + conduit fittings — $10–$25
Renters or first-time homeowners without a basic tool collection can expect costs at the higher end. For a full list of required equipment, see our page on wireless vs wired camera installation costs.
Your Time (4–16 Hours for a Typical System)
Time investment for a 4-camera DIY installation ranges from 4 hours (wireless, straightforward mounting) to 16+ hours (wired PoE with attic or wall cable runs). That estimate assumes no unexpected obstacles — hitting a fireblock inside a wall, discovering that a soffit is double-layered, or troubleshooting a camera that won’t connect to the NVR.
Valued at even a modest $25–$50 per hour, 8–16 hours of labor represents $200–$800 in opportunity cost. That number alone closes much of the gap between DIY and professional pricing.
Risk Cost — Incorrect Placement, Damage, Re-Work
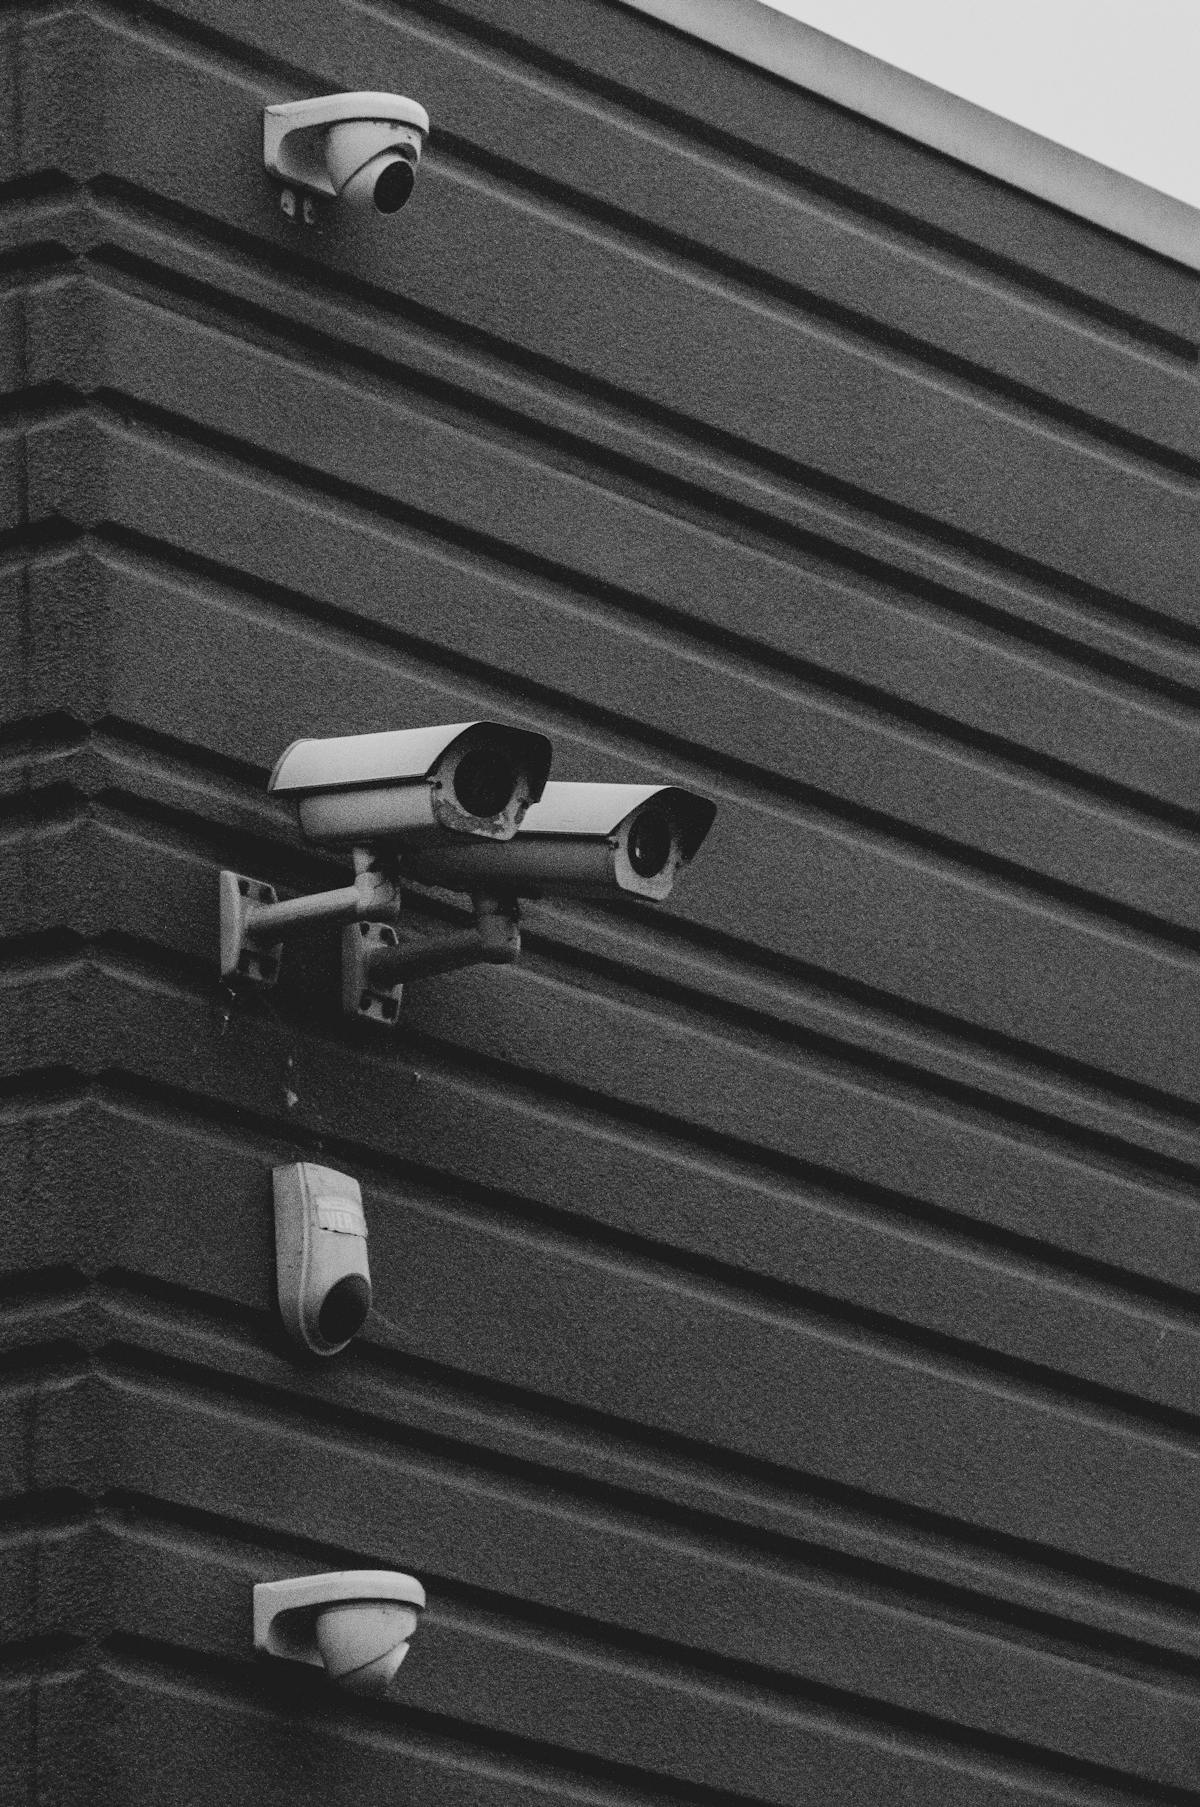
Incorrect camera placement is the most expensive DIY mistake because it often requires re-mounting, re-drilling, and re-routing cables. Common errors include mounting cameras too high (losing facial detail), aiming lenses into direct sunlight (washing out footage), and failing to account for IR reflection off nearby surfaces (creating glare at night).
Property damage from improper drilling — hitting electrical wires, water pipes, or HVAC ducts inside walls — can cost $200–$1,000+ in repairs. Re-work after a poorly planned installation doubles your original time investment. These risk costs are difficult to quantify upfront, but they represent the single largest hidden expense in DIY projects.
What Professional Installation Includes That DIY Doesn’t
Professional installation delivers five capabilities that DIY cannot replicate without specialized training and experience. Each directly affects how well the system performs after day one.
Expert Site Survey and Camera Placement Design
A professional site survey identifies optimal camera positions based on your property’s specific layout, lighting conditions, entry points, and vulnerability areas. Installers evaluate sightlines, measure fields of view at each proposed location, and identify obstructions before any holes are drilled.
This placement design step eliminates blind spots and ensures overlapping coverage at critical transition points — driveways, doorways, gates, and building corners. DIY installations skip this step by default, which is why re-mounting within the first 30 days is one of the most common outcomes.
Concealed, Clean Cable Routing
Professional cable routing runs wires through walls, attics, soffits, and conduit so that no cabling is visible on the building exterior. Concealed runs protect cables from weather, tampering, UV degradation, and pest damage.
DIY installations frequently use surface-mounted cable clips or exposed conduit because routing through walls requires cutting drywall, navigating insulation, and drilling fire-stopped plates — skills most homeowners have not practiced.
System Optimization (Night Vision, Motion Zones, Alerts)
System configuration after physical installation determines whether the cameras actually capture usable footage. Professional installers adjust night vision IR intensity, define precise motion detection zones to eliminate false alerts from trees or passing cars, set recording schedules, configure remote viewing apps, and verify that every camera streams and records at the correct resolution and frame rate.
Most DIY users leave cameras on default settings, which results in excessive false alerts, poor night image quality, and storage drives that fill up faster than necessary.
Warranty on Both Equipment and Labor
Professional installation warranties cover both the equipment and the installation workmanship — typically 1–2 years on labor and 1–5 years on hardware. If a camera fails, a mount loosens, or a cable connection degrades, the installer returns and repairs it at no additional cost.
DIY installations carry only the manufacturer’s equipment warranty, which does not cover damage caused by improper installation, water intrusion from poorly sealed cable entry points, or connection failures from bad cable terminations.
Ongoing Support and Maintenance Options
Many professional security camera installers offer annual maintenance plans ($100–$300 per year) that include system health checks, firmware updates, lens cleaning, and re-aiming adjustments. These plans extend system lifespan by 2–3 years on average compared to unmaintained installations.
DIY systems rely entirely on the homeowner for firmware updates, troubleshooting, and hardware replacement — tasks that often go unaddressed until the system stops working entirely.
When DIY Makes Sense
DIY installation is a reasonable choice under three specific circumstances where the cost-benefit math favors self-installation.
- 1–2 wireless cameras with simple mounting — Stick-up or magnetic-mount cameras from Ring, Blink, Arlo, or Wyze require no drilling, no wiring, and no NVR. Total cost: $50–$300. Installation time: under 1 hour.
- Renters who cannot modify the property — Wireless battery-powered cameras avoid drilling holes, running cables, or making any permanent changes to the structure. They can be removed and reinstalled at the next address.
- Tech-savvy homeowners comfortable with networking — Users who understand PoE switches, subnet configuration, port forwarding, and NVR setup can handle a 4-camera wired system if they also have experience with ladder work and basic construction skills.
Outside these three scenarios, the total cost of DIY (including tools, time, risk, and the absence of warranty protection) frequently approaches or exceeds professional installation pricing.
When You Should Hire a Professional
Professional installation is the clear choice in five situations where DIY risk and complexity outweigh any labor savings.
- Systems with 4+ cameras — Placement coordination across multiple cameras requires field-of-view planning that accounts for overlap, gap elimination, and consistent image quality across all angles.
- Any wired or PoE installation — Running Ethernet cable through walls, attics, and conduit requires tools, skills, and access that most homeowners do not have. Improperly terminated cables cause intermittent failures that are difficult to diagnose.
- Commercial properties — Business installations involve higher camera counts, longer cable runs, lift-accessible ceilings, code compliance, and integration with access control or alarm systems. For commercial pricing details, see our **[commercial security camera installation cost guide](https://security-cameras-pro.com/commercial-security-camera-installation-pricing/)**.
- Multi-story buildings — Mounting cameras on second- or third-story exteriors requires extension ladders or lifts, fall protection, and experience working at height.
- Installations requiring conduit or attic cable runs — Running rigid or flexible conduit on building exteriors, or routing cables through unconditioned attic spaces, demands knowledge of building codes, fire-stopping requirements, and proper weatherproofing at every penetration point.
In each of these cases, the $500–$2,000 labor cost of professional installation pays for itself through reduced risk, proper execution, and warranty-backed workmanship.
Get a Free Professional Installation Quote to Compare
The fastest way to determine whether professional installation is worth the cost for your specific property is to request a free on-site quote. A professional installer will survey your property, recommend camera count and placement, and provide a written estimate with no obligation — giving you a real number to compare against your DIY cost calculation.
Request a free security camera installation quote today and get a detailed cost comparison tailored to your property layout, camera count, and coverage requirements. We offer professional installation services in Dallas, Phoenix, Charlotte, and many other cities.
Common DIY Installation Mistakes to Avoid
DIY camera installation errors fall into predictable categories that repeat across thousands of self-installed systems every year. The most frequent mistakes include mounting cameras at the wrong height, failing to waterproof cable entry points, using inadequate cable grades for long runs, and leaving default motion zones active (which trigger hundreds of false alerts daily).
Before starting any DIY project, review our what to expect during security camera installation guide and learn how to choose a security camera installer to prevent the most costly errors before they happen.