Wireless security camera installation places WiFi-connected cameras at key entry points and sight lines around a property, transmitting video without coaxial or Ethernet video cabling. Most wireless cameras still require a power source — either a plug-in adapter, rechargeable battery, or solar panel — but eliminate the long cable runs that make traditional wired systems expensive to retrofit. Professional wireless camera installation typically costs $100–$300 per camera, with full 4–8 camera residential systems ranging from $500–$2,000 installed. WiFi cameras depend on a stable network with at least 2 Mbps upload bandwidth per camera, making a site survey and signal mapping essential before any equipment is mounted. Renters, small business owners, homeowners without existing wiring, and construction sites benefit most from wireless camera systems because of their flexible placement and faster deployment compared to wired PoE camera installations.
What Is Wireless Security Camera Installation?
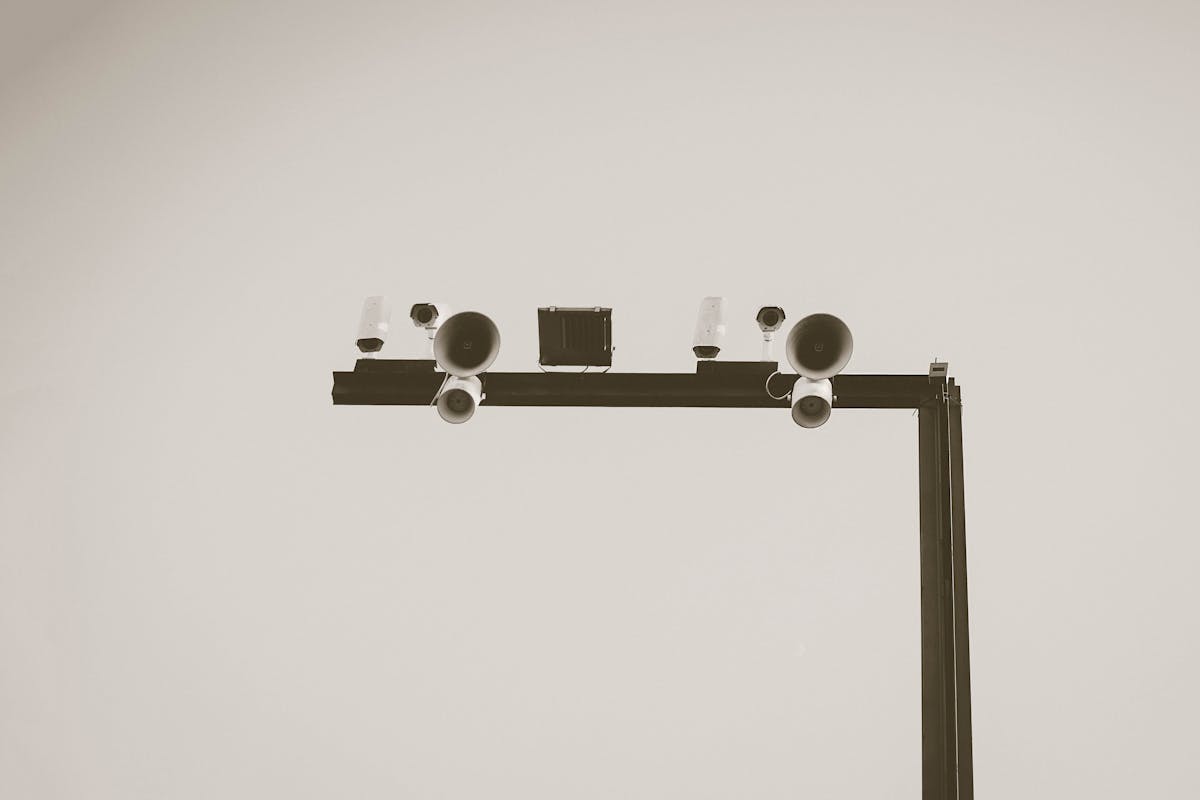
Wireless security camera installation is the process of mounting and configuring WiFi-enabled cameras that send video data over a property’s wireless network to a local recorder or cloud storage platform. Wireless cameras eliminate the need for dedicated video cabling between each camera and the recording device, which is the primary distinction from traditional wired systems. The term “wireless” refers specifically to the video transmission method — most wireless cameras still need a power connection via a plug-in adapter, battery pack, or solar panel.
Wireless security camera systems consist of three core components: the cameras themselves, a WiFi network to carry video data, and a storage destination (cloud subscription or local network video recorder). A professional installer handles camera placement, mounting hardware, power routing, network configuration, and remote access setup so homeowners and business operators can view live and recorded footage from a smartphone or computer.
Modern wireless cameras support resolutions up to 4K, two-way audio, motion-activated recording, and AI-based person and vehicle detection — features that were once exclusive to commercial wired systems.
How Wireless Security Cameras Work
Wireless security cameras capture video through an onboard image sensor and transmit that footage over WiFi to a designated storage location. Each component of the system — network, power, and storage — plays a direct role in camera performance and reliability.
WiFi Transmission and Network Requirements
- Wireless cameras connect to a property’s WiFi router using the 2.4 GHz or 5 GHz frequency band
- 2.4 GHz provides longer range (up to 150 feet indoors) but lower throughput; 5 GHz offers faster speeds at shorter range
- Each camera requires 2–4 Mbps of upload bandwidth for reliable 1080p streaming, and 6–8 Mbps for 4K
- A dedicated WiFi network or VLAN for security cameras prevents bandwidth competition with household devices
- WiFi range extenders or mesh network nodes may be needed for cameras placed far from the router
- Walls, metal structures, and large appliances reduce WiFi signal strength and can cause video dropouts
Power Options (Plug-In, Battery, Solar)
- Plug-in cameras connect to a standard AC outlet via a power adapter and provide continuous, uninterrupted power
- Battery-powered cameras use rechargeable lithium-ion batteries lasting 2–6 months depending on recording frequency and motion activity
- Solar-powered cameras pair a small solar panel with an onboard battery, maintaining charge in locations that receive at least 3–4 hours of direct sunlight daily
- Plug-in models suit permanent installations near existing outlets; battery and solar models work best where running power cable is impractical
- Battery cameras typically enter a sleep mode between motion events to conserve power, which can result in a 1–2 second recording delay
Cloud Recording vs Local NVR Storage
- Cloud recording uploads footage to a provider’s servers, accessible from any device with internet — typically requires a monthly subscription ($3–$10 per camera)
- Local NVR (Network Video Recorder) stores footage on a hard drive within the property’s network, with no recurring fees
- Cloud storage provides offsite backup that survives theft or damage to on-premises equipment
- Local NVR storage offers faster playback, no subscription costs, and continued recording during internet outages
- Many wireless camera systems support hybrid storage, recording locally while backing up clips to the cloud
Advantages and Limitations of Wireless Cameras
Wireless cameras offer faster installation, flexible placement, and no need for long cable runs between cameras and the recorder. These advantages come with trade-offs in WiFi dependency, potential signal interference, and the maintenance demands of battery-powered models.
| Factor | Wireless | Wired (PoE) |
|---|---|---|
| Installation difficulty | Low — minimal cabling, faster setup | Medium–High — requires Ethernet runs |
| Reliability | WiFi-dependent; subject to interference | Very high; dedicated wired connection |
| Video quality | Up to 4K (bandwidth permitting) | Up to 4K (consistent throughput) |
| Power source | Battery, plug-in adapter, or solar | Power over Ethernet cable |
| Scalability | Limited by WiFi bandwidth and router capacity | Scales with PoE switch port count |
| Aesthetics | Cleaner look, fewer visible cables | Cables may need conduit or concealment |
| Best for | Renters, small homes, retrofits, temporary sites | Permanent installations, large properties |
Wireless cameras perform best in environments where the WiFi signal remains strong and consistent. Properties with thick masonry walls, metal siding, or cameras placed more than 100 feet from the router may experience dropped connections that a wired PoE system would avoid entirely.
Best Situations for Wireless Camera Installation
Wireless camera installation fits specific property types and use cases where traditional wired systems are impractical, prohibited, or unnecessarily expensive.
Rental Properties and Apartments
- Renters often cannot run cables through walls or drill extensive mounting holes required by wired systems
- Wireless cameras with adhesive or magnetic mounts allow installation without permanent modifications
- Battery-powered models can be removed and relocated when a lease ends
- Landlord approval is typically easier to obtain for wireless cameras that do not alter the building structure
Homes Without Existing Wiring Infrastructure
- Older homes built before structured cabling standards often lack attic access, conduit paths, or cable routing options
- Wireless cameras eliminate the need for invasive retrofitting — no cutting drywall, fishing cables, or patching walls
- Homes with finished basements, plaster walls, or limited crawl space access benefit most from wireless installation
- A wireless system can cover the same entry points and perimeter zones as a wired system without construction work
Small Businesses Needing Fast Deployment
- Wireless camera systems can be fully installed and operational in a single day for most small business locations
- Retail shops, restaurants, and small offices with 4–8 cameras are common wireless deployments
- Business owners avoid disruption to daily operations because wireless installation requires no cable routing through commercial ceilings or walls
- Cloud-based wireless systems allow business owners to monitor multiple locations from one app
Temporary or Construction Site Surveillance
- Construction sites need camera coverage that moves as the project progresses through different phases
- Wireless cameras with solar power and cellular backup operate on sites without permanent electrical or internet service
- Temporary event venues, pop-up retail spaces, and seasonal businesses benefit from systems that install and remove quickly
- Battery and solar wireless cameras avoid the cost of running temporary electrical service to camera locations
Wireless Camera Installation Process
Wireless camera installation follows a structured four-step process that ensures reliable coverage, strong connectivity, and proper remote access for the property owner.
Step 1 — Site Survey and WiFi Signal Mapping
- A professional installer walks the property with a WiFi signal analyzer to measure signal strength at each planned camera location
- Signal strength below -65 dBm at a camera position typically requires a WiFi extender, mesh node, or camera relocation
- The installer identifies all entry points, vulnerable areas, and high-value zones requiring coverage
- Potential sources of WiFi interference — neighboring networks, microwaves, Bluetooth devices, metal structures — are documented
- The survey confirms whether the existing router and internet plan can support the planned camera count
Step 2 — Camera Placement for Optimal Coverage and Signal
- Wireless cameras are positioned at 8–10 feet height for the best balance of coverage area and facial identification range
- Each camera location must fall within reliable WiFi range and have a clear or near-clear line of sight to the router or nearest access point
- Entry points — front door, back door, garage, and first-floor windows — receive priority placement
- The installer avoids placing cameras where direct sunlight hits the lens, where backlighting washes out the image, or where obstructions block the field of view
Step 3 — Mounting and Power Connection
- Cameras are mounted using screws and anchors for permanent installation, or adhesive and magnetic mounts for non-invasive setups
- Plug-in cameras are connected to the nearest outlet; cables are routed along eaves, trim, or through a single small wall penetration
- Battery cameras are fully charged and installed in their mounts; the installer verifies battery level and estimates recharge intervals
- Solar panels are angled toward the strongest sun exposure, typically south-facing in the Northern Hemisphere, and connected to the camera
- All exterior mounting points are sealed against moisture to protect connections and prevent water intrusion
Step 4 — Network Configuration and Remote Access Setup
- Each camera is connected to the WiFi network and assigned a static IP address or DHCP reservation to prevent address conflicts
- The installer configures recording schedules, motion detection zones, sensitivity thresholds, and notification preferences
- Remote access is set up through the manufacturer’s app or a third-party viewing platform on the property owner’s smartphone and computer
- The installer tests live viewing, playback, and push notifications from an offsite connection to confirm full functionality
- The property owner receives a walkthrough of the app interface, including how to review footage, adjust settings, and share access with other users
Wireless Security Camera Installation Cost
Wireless camera installation costs $100–$300 per camera for professional setup, covering mounting, power connection, network configuration, and remote access. Total system cost depends on camera count, camera quality, and storage method.
| System Size | Camera Cost (Equipment) | Installation Labor | Total Estimated Cost |
|---|---|---|---|
| 2 cameras (apartment / small home) | $150–$400 | $200–$400 | $350–$800 |
| 4 cameras (average home) | $300–$800 | $400–$800 | $700–$1,600 |
| 8 cameras (large home / small business) | $600–$1,600 | $600–$1,200 | $1,200–$2,800 |
| Cloud storage subscription | $3–$10 per camera per month | $36–$120 per camera per year | |
| Local NVR (one-time) | $150–$400 for recorder + hard drive | No recurring fees | |
Wireless camera installation is generally 20–40% less expensive than wired PoE installation because it eliminates cable material costs and the labor-intensive process of running Ethernet through walls, attics, and conduit. Property owners budgeting for a new system should review our detailed security camera installation cost guide for a full pricing comparison. Properties that would require extensive drywall repair or conduit work for a wired system see the largest savings by choosing wireless.
Additional cost factors include WiFi range extenders or mesh nodes ($50–$150 each), weatherproof junction boxes ($10–$25 each), and optional upgrades like pan-tilt-zoom or built-in spotlight cameras ($50–$150 premium per unit).
Schedule Your Wireless Camera Installation
Wireless security camera installation gives your property professional-grade video surveillance without invasive cable work or the higher costs of wired systems. A qualified installer handles the site survey, WiFi assessment, camera mounting, and network configuration so your system works reliably from day one.
Request a free site survey and installation quote. A local installer will evaluate your WiFi coverage, recommend camera positions, and provide an itemized estimate — typically within one business visit.
Get a Free Wireless Camera Installation Quote
Wireless vs Wired Cameras — Full Comparison
Wireless and wired camera systems each serve distinct property types and security needs. Wireless cameras excel in rentals, older homes, and locations where cable routing is impractical, while wired PoE systems deliver the highest reliability for permanent, large-scale installations.
For a full side-by-side breakdown of performance, cost, and installation complexity, see our complete guide to wired vs wireless security cameras.
Common Wireless Camera Connectivity Issues and Fixes
Wireless camera systems occasionally experience connectivity problems that trace back to WiFi signal strength, network congestion, or configuration errors — all correctable without replacing equipment.
Frequent connectivity issues include:
- Intermittent video dropouts — usually caused by WiFi signal weakness at the camera location; resolved with a WiFi extender, mesh node, or camera repositioning
- Slow or buffering live view — often the result of insufficient upload bandwidth; upgrading the internet plan or reducing camera resolution from 4K to 1080p can restore smooth playback
- Camera going offline after power outage — some cameras do not auto-reconnect after a router reboot; setting a static IP and enabling auto-reconnect in firmware prevents this
- Interference from neighboring networks — overlapping WiFi networks in dense areas cause channel congestion; switching to a less crowded channel or the 5 GHz band reduces interference
- Failed push notifications — typically a smartphone app permission issue rather than a camera fault; re-authenticating the app and checking notification settings resolves most cases
For a deeper look at diagnosing and resolving wireless camera network problems, see our guide on security camera repair and maintenance for professional troubleshooting and upkeep.